

Overview
Overview Custom GPTs let you build a dedicated ChatGPT experience that uses Spark to answer audience questions. This is useful when:- You want a repeatable workflow (e.g., “focus group mode”, “audience profiler mode”).
- Add additional guardrails to ensure non-expert users get the correct data
- You want Spark data available inside a dedicated GPT rather than only in the main ChatGPT + connector experience.
A Custom GPT can use Apps or Actions, not both. Choose one approach when building.
This page covers both. If you haven’t set up the GWI Spark app yet, see Custom connector first.
How to setup
Create your Custom GPT
- In ChatGPT, go to Explore GPTs
- Click Create
-
Give it a name (e.g., “GWI Spark Focus Group – UK Gen Z Travel”)
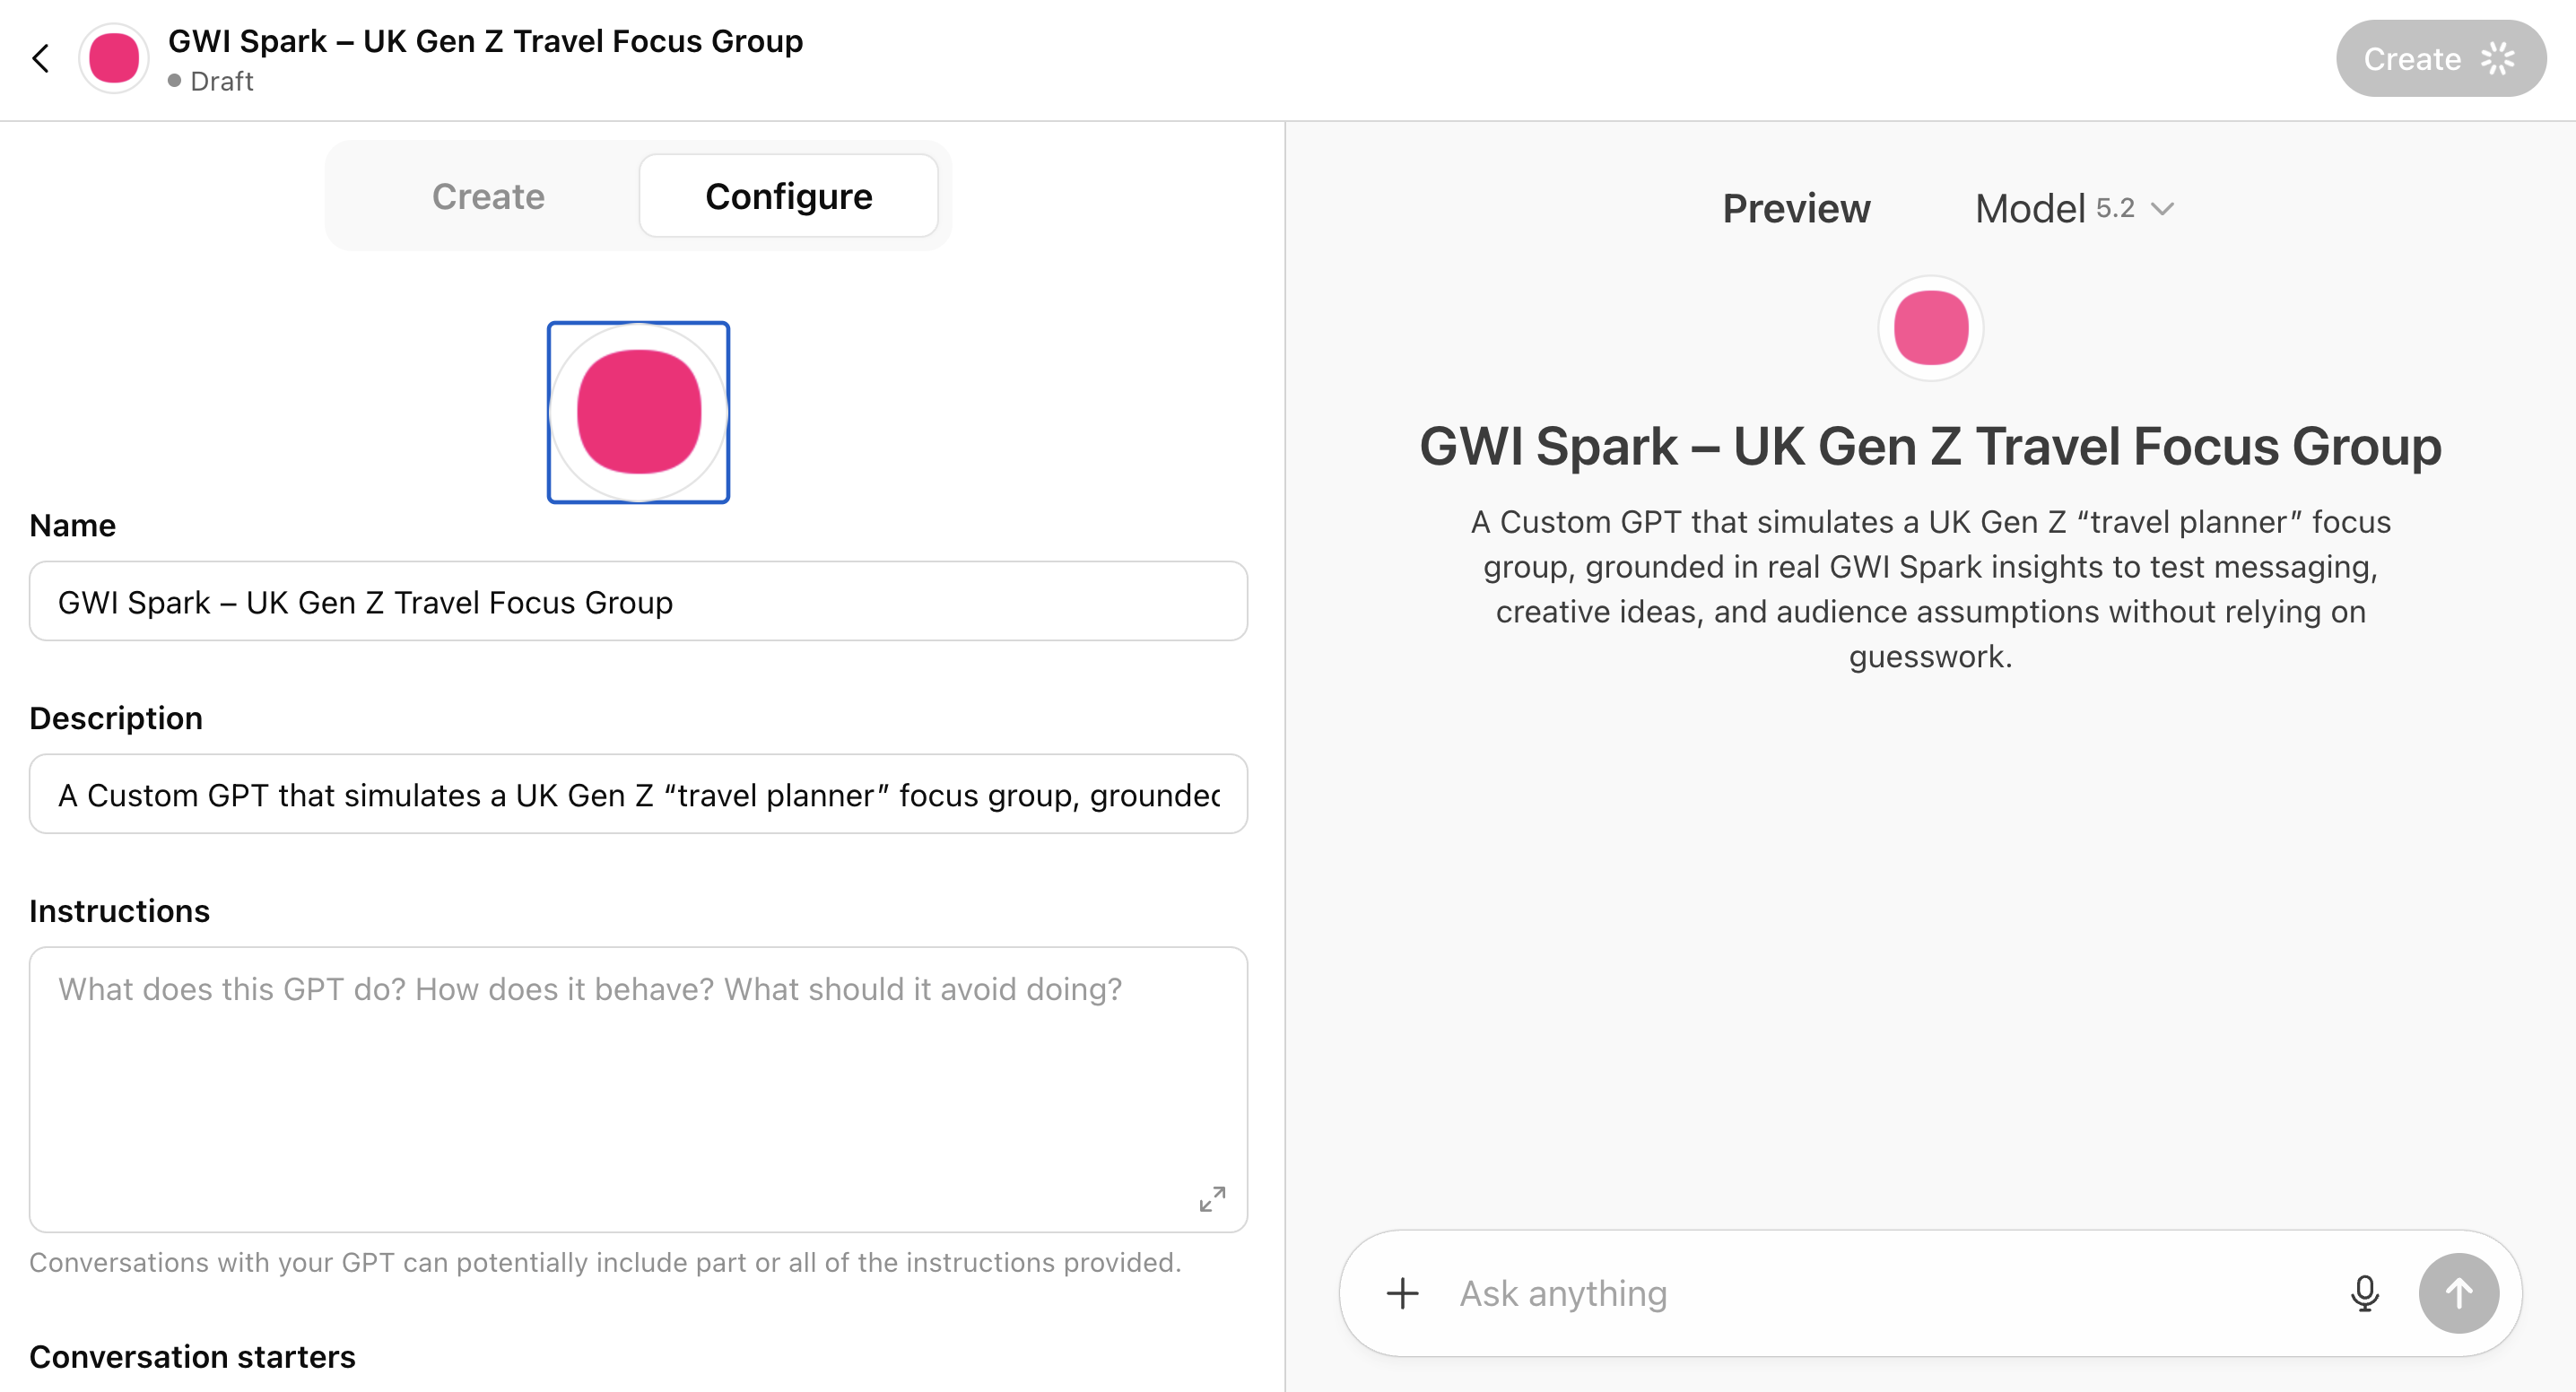
Option 1: Custom GPT using the GWI Spark app
Prerequisites
- The GWI Spark app must already be connected for your workspace (see Custom connector). Users will also need to have individually connected it in their own ChatGPT account before they can use this GPT.
- A ChatGPT plan that supports Custom GPTs (Plus, Pro, Business, or Enterprise)
Enable Apps
- Go to the Configure tab
- Under Capabilities, enable Apps
- In the search field that appears, search for “GWI Spark”
- Select the GWI Spark connector from the results and click Add
- Do not add any Actions - a GPT uses either Apps or Actions, not both
Add instructions
In the Instructions field, tell the GPT when and how to use Spark. Example:Test and publish
Test using the Preview panel on the right. When you’re happy, click Create to publish and share with your users. Users will need the GWI Spark app connected in their own ChatGPT account before using this GPT. If the app isn’t connected, they’ll be prompted to connect it.Option 2: Custom GPT using Spark as an Action
Use this when you want the GPT to call Spark directly using an API key- useful for sharing with users who won’t have the Spark app set up themselves.Prerequisites
- A GWI API token with access to Spark API
- A ChatGPT plan that supports Custom GPTs with Actions
Add Spark as an Action
- Go to the GPT Configure tab
- Scroll to Actions
- Click Add action
- Choose Import from URL or paste a schema manually
Recommended OpenAPI schema (copy/paste)
- What it should look like once copied in
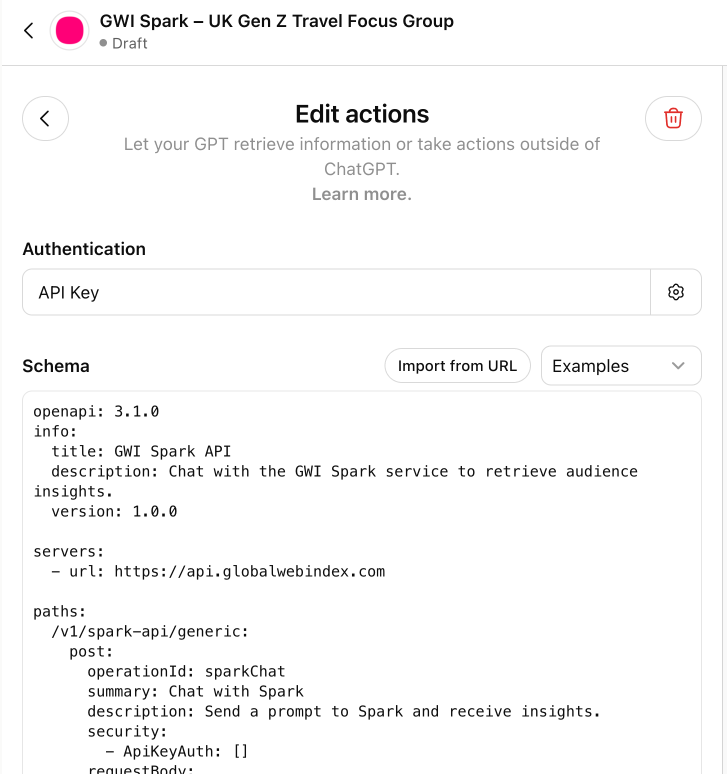
Configure Authentication (API token)
In the Action auth settings:- Choose API Key
- Location: Header
- Header name: Authorization
- Value: your token (stored by ChatGPT as the secret)
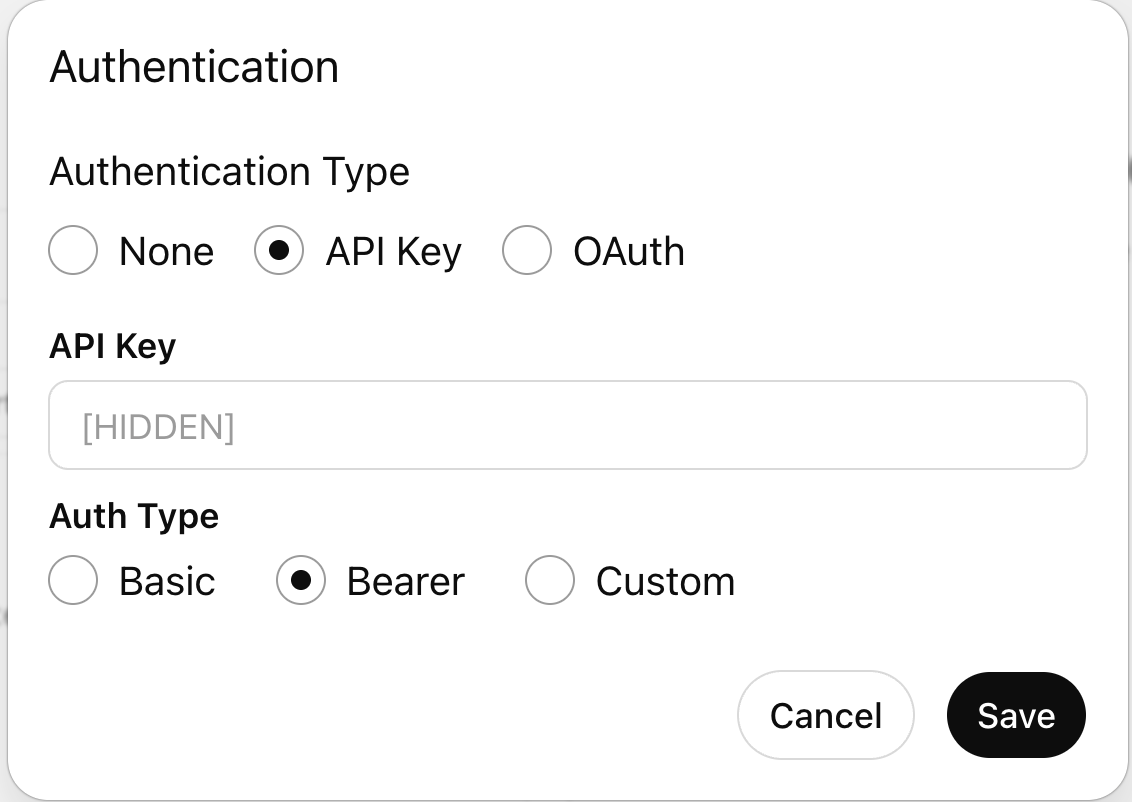
Add instructions so the GPT uses Spark correctly
In your GPT’s Instructions, add guidance like:- When to call Spark (e.g., whenever user asks for data-backed insights)
- Ask for missing parameters (dataset, country, audience definition)
- Keep responses grounded: cite what the API returned; don’t invent stats
- Also add your use-case behaviour rules: Once you’ve told the GPT how to use Spark, don’t forget to add instructions for how you want it to behave overall—what extra context it should ask for and how it should structure its responses for your specific workflow.
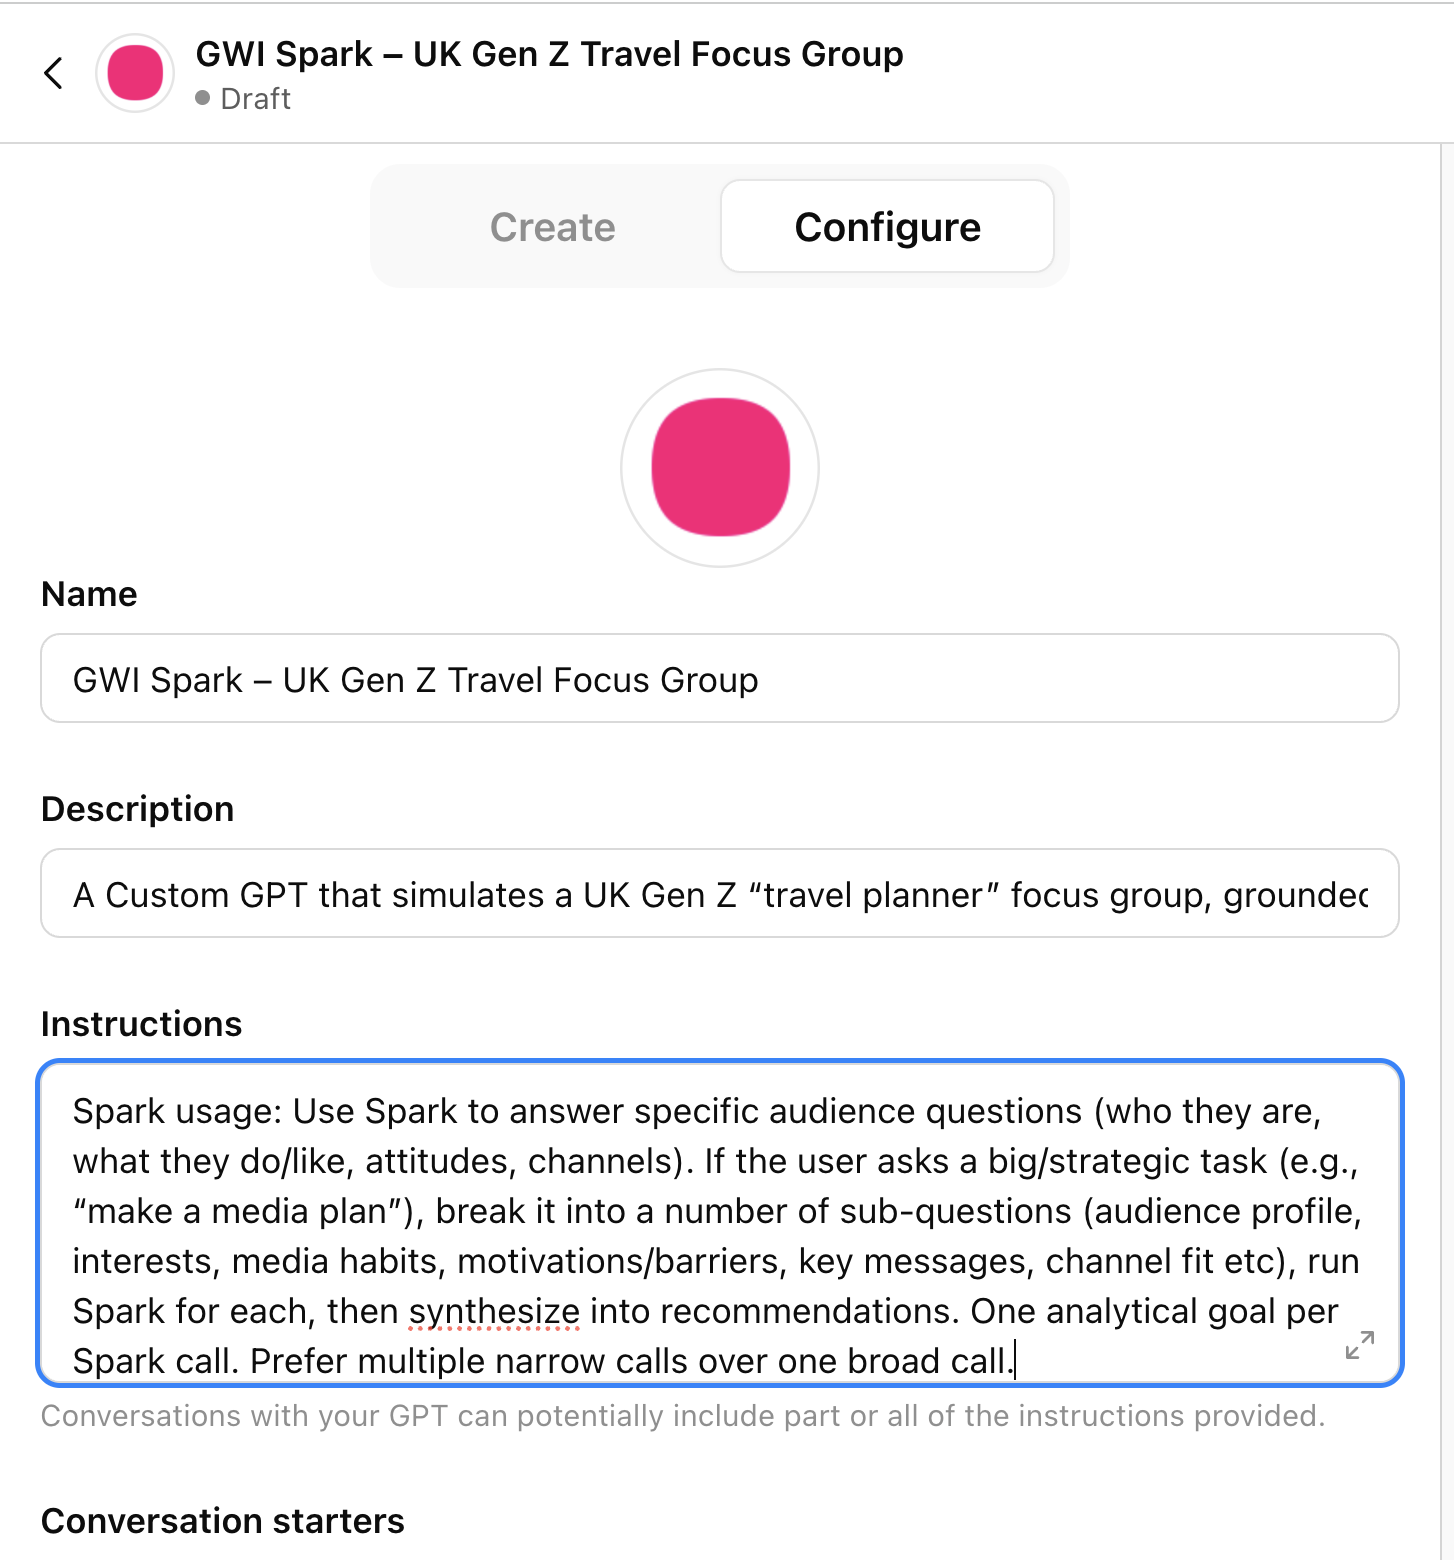
Testing and publishing
Once you’ve finished configuring the Custom GPT, test it using the chat panel on the right to make sure it behaves the way you intended (and is returning useful Spark-backed responses). When you’re happy with the outputs, click Create (top right) to publish it, then share it with the users you want to test and use it.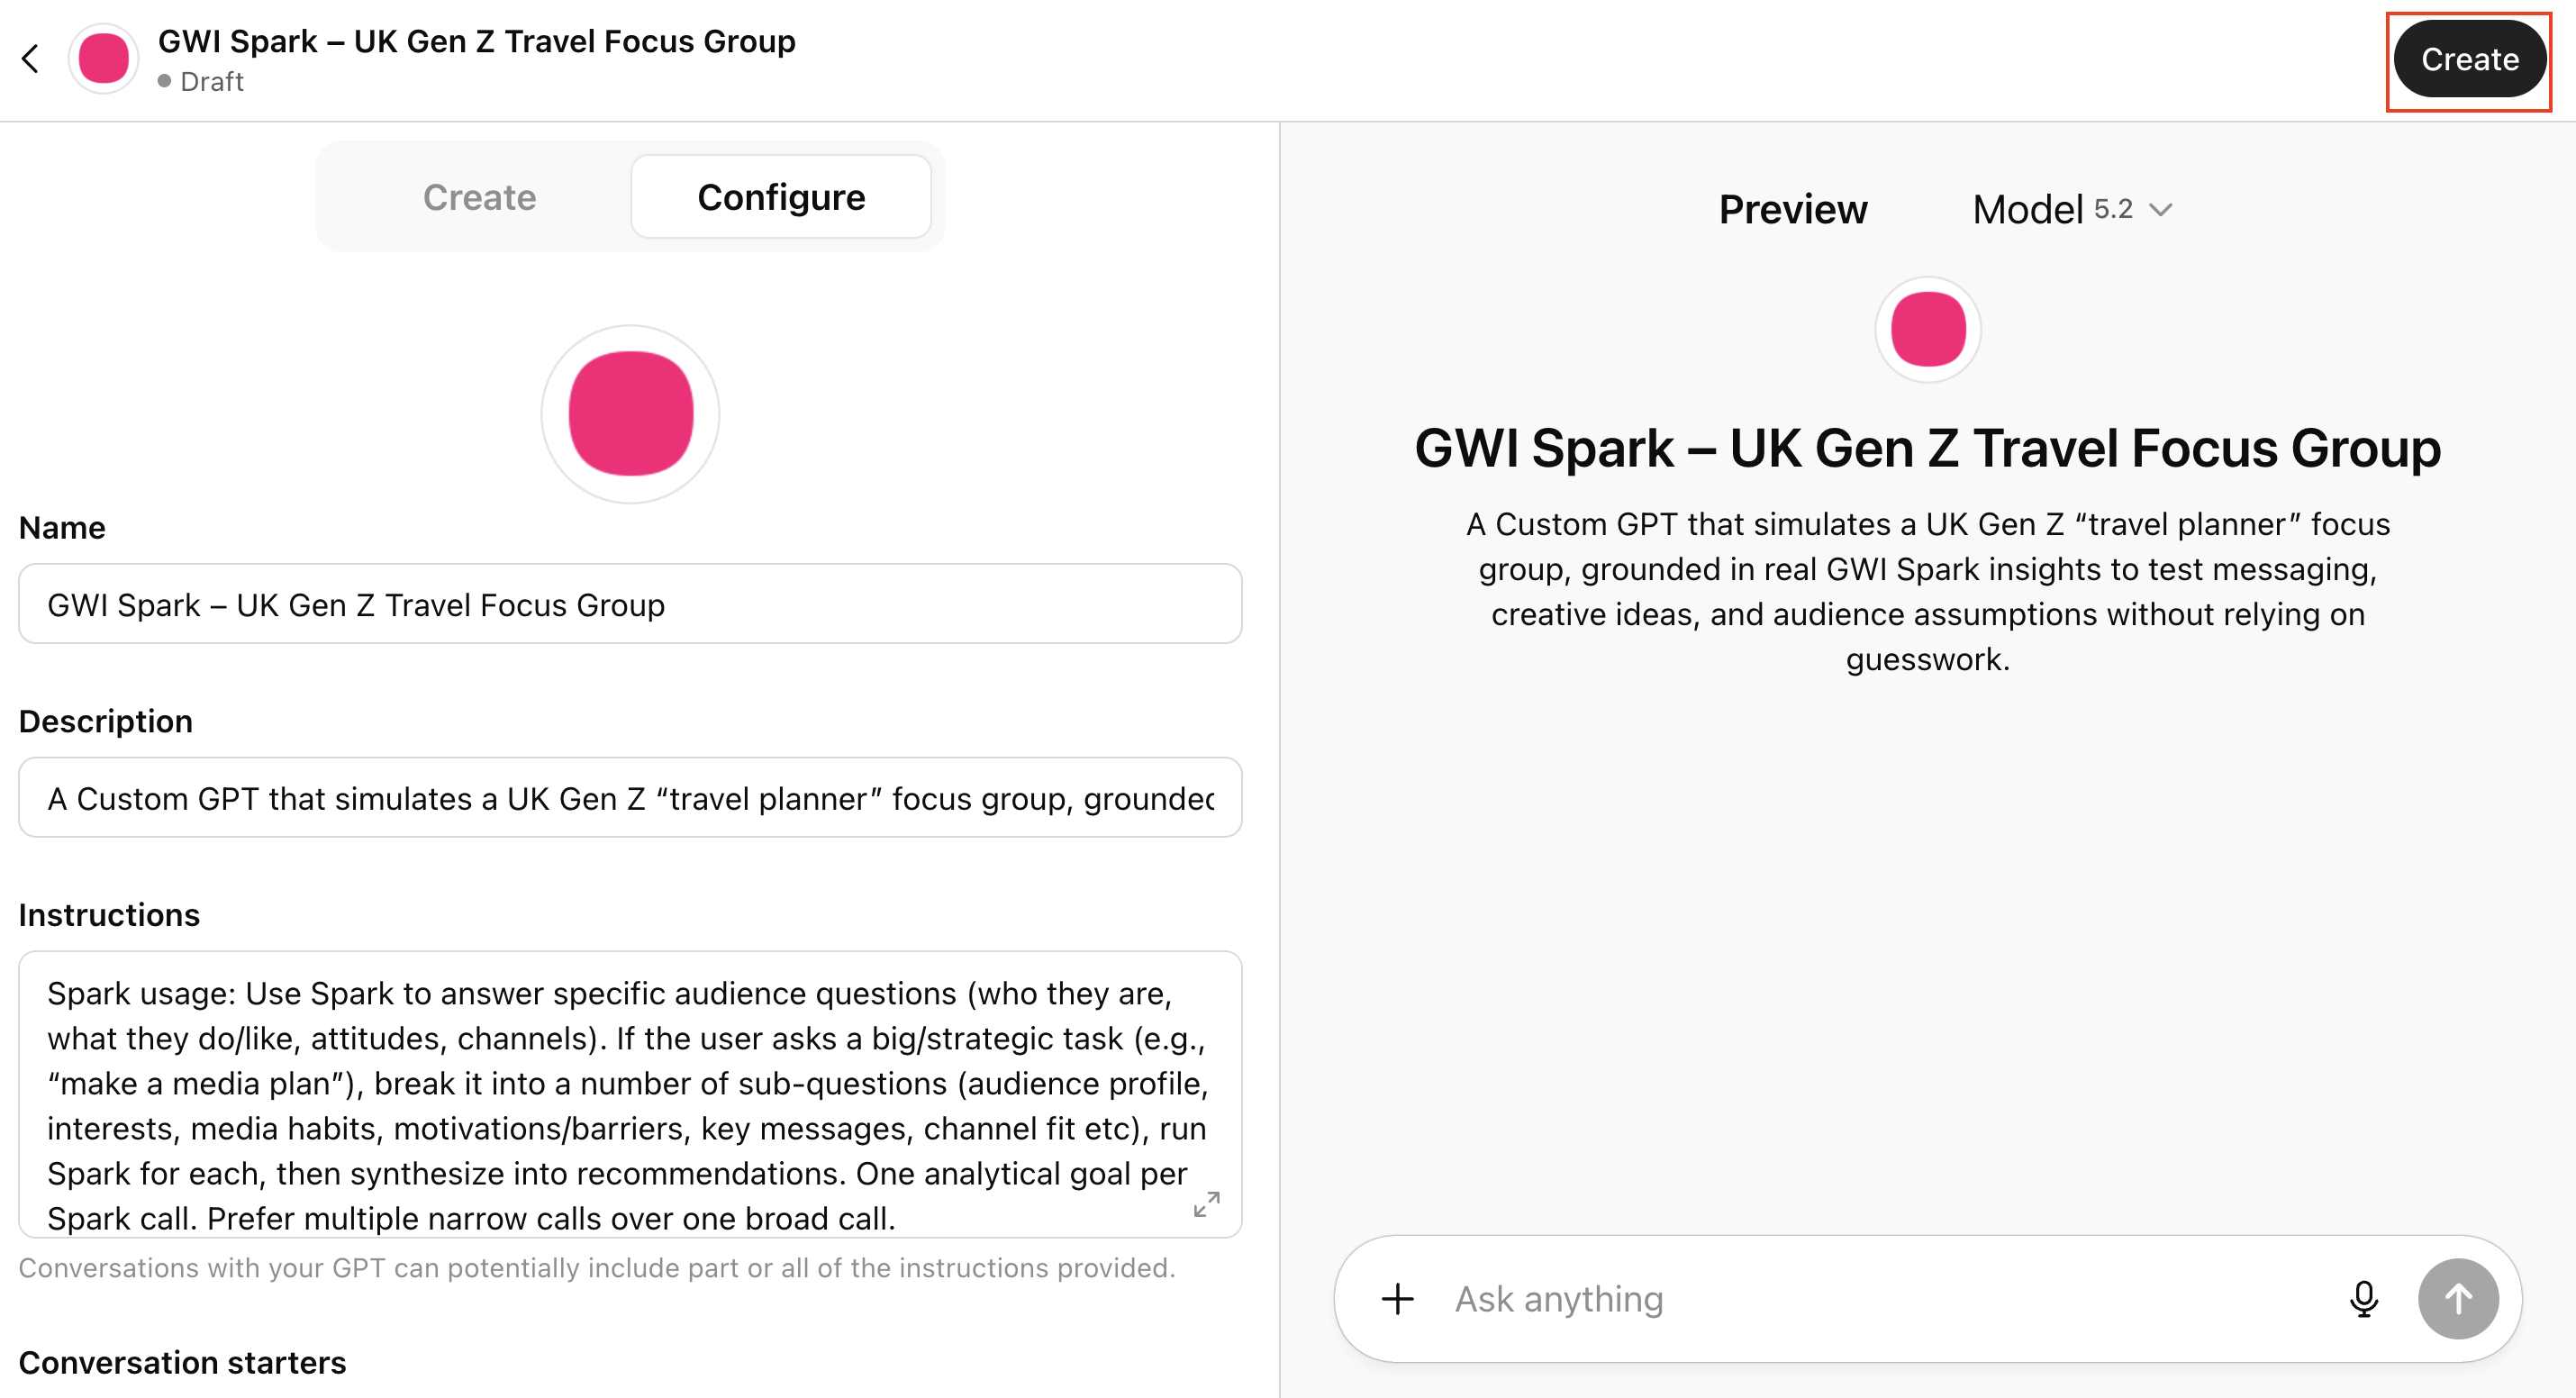
Troubleshooting
Import from URL doesn’t work
- Use Paste schema instead
- Or ensure the schema URL is publicly accessible and returns valid OpenAPI YAML/JSON
401 Unauthorized
- The token is missing/invalid
- The token doesn’t have Spark access
- The header format is wrong (Authorization vs Bearer …)