> ## Documentation Index
> Fetch the complete documentation index at: https://api.globalwebindex.com/docs/llms.txt
> Use this file to discover all available pages before exploring further.
# Google Gemini CLI
## Overview
The GWI MCP server can be integrated with Google Gemini CLI to enable agents to access GWI consumer insights data inside the CLI.
The integration supports two authentication modes:
* [**OAuth 2.0: Use your GWI credentials to sign in.**](#oauth-mode)
* [**Spark API token: Use your Spark API token to authenticate.**](#spark-api-token-mode)
Reference: [Google Gemini CLI MCP official documentation](https://geminicli.com/docs/tools/mcp-server/)
## Prerequisites
Before continuing with the integration, please follow the instructions to install `npm` and `gemini CLI`:
* [Install npm](https://docs.npmjs.com/downloading-and-installing-node-js-and-npm)
* [Install gemini CLI](https://geminicli.com/docs/get-started/installation)
## OAuth mode
1. Run the following command to add the GWI MCP server:
```bash theme={null}
gemini mcp add "GWI Spark" https://api.globalwebindex.com/v1/spark-api/mcp \
-t http \
-s user
```
> Note: this will add an entry on the `~/.gemini/settins.json`.
>
> If you want to use `gemini-cli` in project level please use `-s project` which will update the `{WORKSPACE}/.gemini/settings.json`
>
> Both of these can also be edited manually.
2. Execute `gemini`
```bash theme={null}
gemini
```
3. Validate that the mcp server was added, by prompting
```bash theme={null}
> /mcp list
```
```
Configured MCP servers:
🔴 GWI Spark - Disconnected (OAuth not authenticated)
```
4. Initiate the **OAuth** flow
```bash theme={null}
> /mcp auth GWI Spark
```
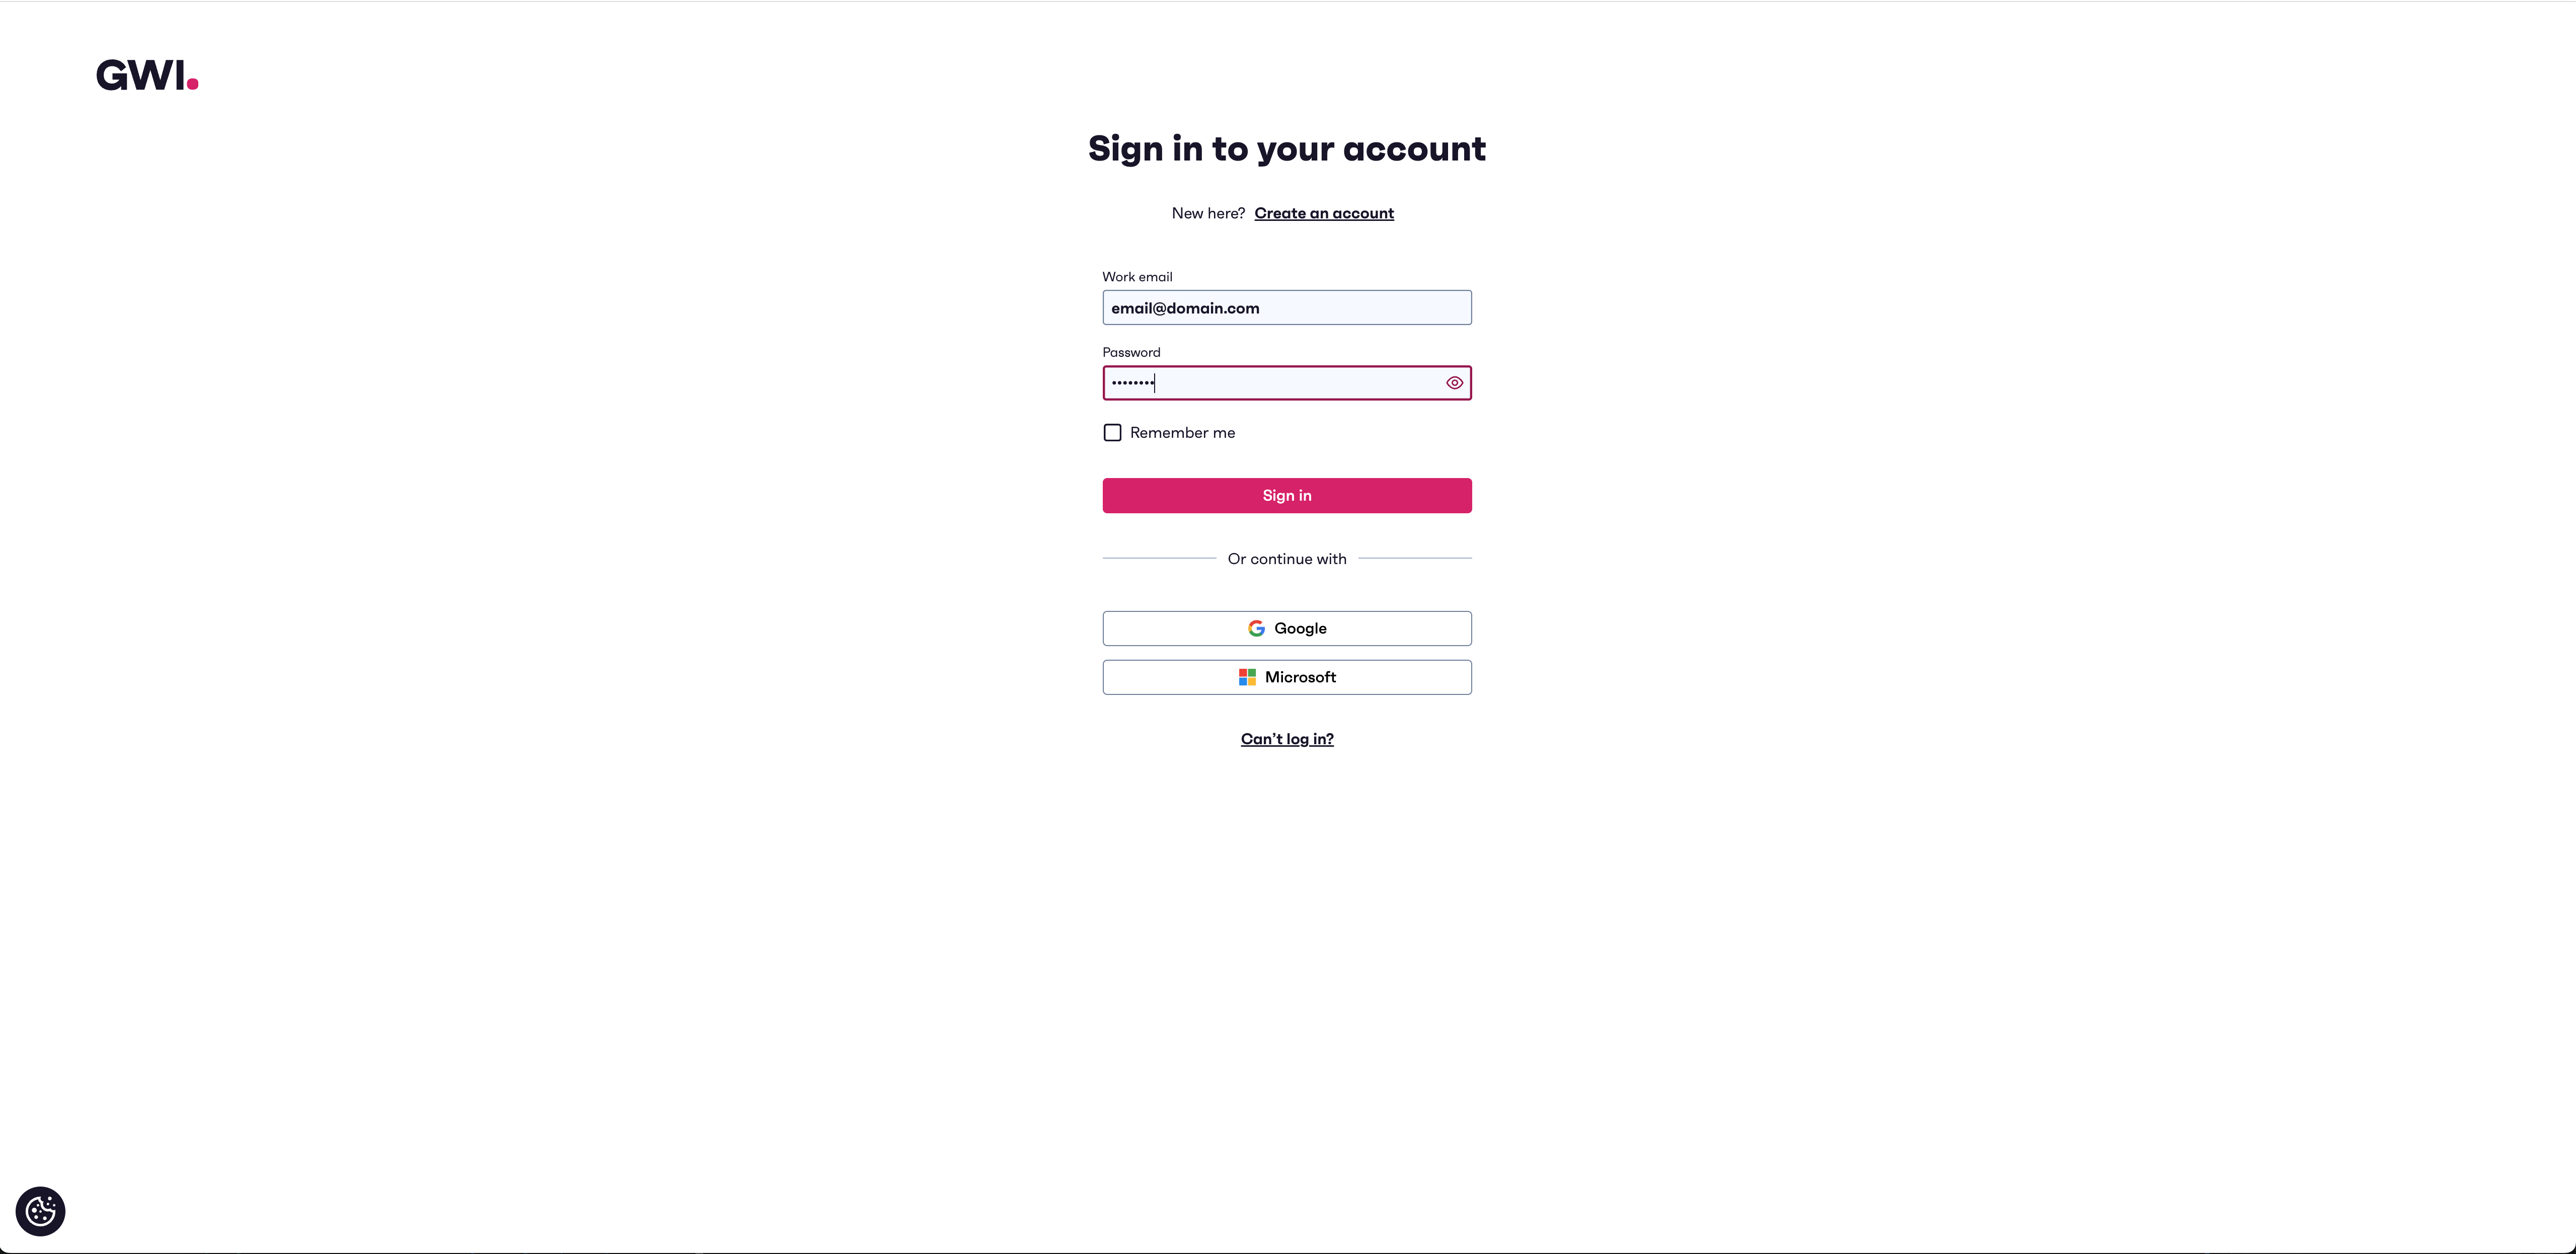
5. You'll be redirected to the GWI sign-in page. Use your GWI credentials to sign in. **If you don't have a GWI login, click Sign up to create one**
 6. After successful signin, you need to allow access to Gemini CLI
 7. Then return to `gemini` and validate that the mcp server is connected
```bash theme={null}
> /mcp
```
```
Configured MCP servers:
🟢 GWI Spark - Ready (2 tools)
Tools:
- chat_gwi
- explore_insight_gwi
```
8. Start using the GWI Spark
## Spark API token mode
This mode is available for users that have a `Spark API token` available.
1. Run the following command to add the GWI MCP server:
```bash theme={null}
gemini mcp add "GWI Spark" https://api.globalwebindex.com/v1/spark-api/mcp \
-t http \
-s user \
-H "Authorization: Bearer "
```
> Note: this will add an entry on the `~/.gemini/settins.json`.
>
> If you want to use `gemini-cli` in project level please use `-s project` which will update the `{WORKSPACE}/.gemini/settings.json`
>
> Both of these can also be edited manually.
2. Execute `gemini`
```bash theme={null}
gemini
```
3. Validate that the mcp server was added, by prompting
```bash theme={null}
> /mcp
```
```
Configured MCP servers:
🟢 GWI Spark - Ready (2 tools)
Tools:
- chat_gwi
- explore_insight_gwi
```
4. Start using the GWI Spark
7. Then return to `gemini` and validate that the mcp server is connected
```bash theme={null}
> /mcp
```
```
Configured MCP servers:
🟢 GWI Spark - Ready (2 tools)
Tools:
- chat_gwi
- explore_insight_gwi
```
8. Start using the GWI Spark
## Spark API token mode
This mode is available for users that have a `Spark API token` available.
1. Run the following command to add the GWI MCP server:
```bash theme={null}
gemini mcp add "GWI Spark" https://api.globalwebindex.com/v1/spark-api/mcp \
-t http \
-s user \
-H "Authorization: Bearer "
```
> Note: this will add an entry on the `~/.gemini/settins.json`.
>
> If you want to use `gemini-cli` in project level please use `-s project` which will update the `{WORKSPACE}/.gemini/settings.json`
>
> Both of these can also be edited manually.
2. Execute `gemini`
```bash theme={null}
gemini
```
3. Validate that the mcp server was added, by prompting
```bash theme={null}
> /mcp
```
```
Configured MCP servers:
🟢 GWI Spark - Ready (2 tools)
Tools:
- chat_gwi
- explore_insight_gwi
```
4. Start using the GWI Spark